
Fuel injectors play a big role in how your car runs and sips fuel. Over time, they can get clogged by varnish, dirt, and carbon deposits, leading to rough idling, misfires, and a noticeable drop in gas mileage. Inspecting and cleaning them lets you spot leaks, test spray patterns, and restore even fuel delivery which helps you reclaim lost power and efficiency.
Let’s walk through the steps to inspect and clean your car fuel injectors as well as what you’ll need.

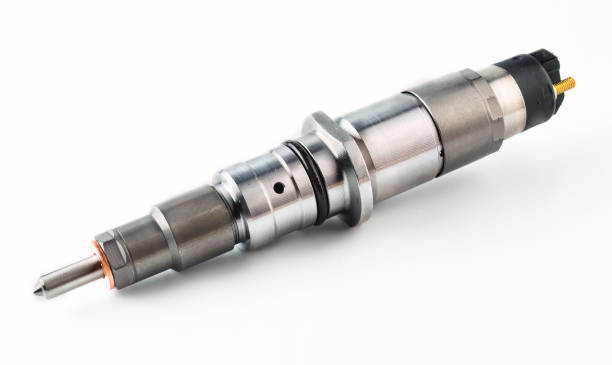
What Fuel Injectors Do
Your engine’s heart beats on precise fuel delivery. A clean injector sprays a uniform mist. That mix of fuel and air burns efficiently.
They’re nozzles that pulse open and shut, metering fuel into each cylinder under high pressure. A tight spray pattern ensures every drop atomizes for clear combustion.
Signs of Dirty Fuel Injectors
- Rough idle or shaking at a stop
- Engine misfires under load or at idle
- Poor acceleration when you hit the gas
- Higher fuel consumption—you notice more trips to the pump
If you see any of these, your injectors may need attention.
Tools You Need
Gather these before you start:
- Fuel pressure gauge for leak tests
- Safety goggles and gloves for protection
- Socket set or wrench for injector removal
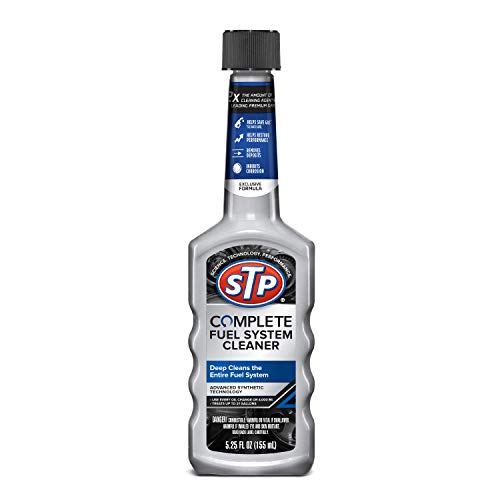
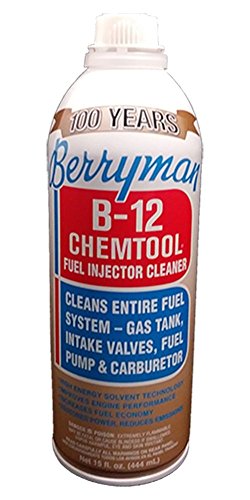
- Injector cleaning kit (pressurized canister + solvent) or fuel-injector cleaner additive
- Ultrasonic cleaner (optional but effective)


How to Inspect Your Car Fuel Injectors
Start with a visual and pressure check before diving into cleaning.
Visual Inspection Steps
- Disconnect the battery.
- Remove engine cover and fuel rail.
- Check each injector’s electrical connector for corrosion.
- Look for fuel leaks at the O-rings or body.
Testing Spray Pattern and Flow
- Attach the fuel pressure gauge and start the engine briefly.
- Observe spray from each injector—mist should be uniform, not dribbles.
- Use a flow-testing rig (or pro service) to measure flow rate, ensuring injectors match within 5% of each other.
How to Clean Fuel Injectors
Choose the method that fits your budget and skill level.
1. Fuel-Additive Cleaning
Pour a quality injector cleaner into a near-empty tank. Drive 50–100 miles to let it cycle through. You may see a 2.3% boost in fuel economy after one tank. Note: low-grade additives may not help much.


2. Manual Soak Cleaning
- Remove injectors from the engine.
- Attach them to a pressurized canister filled with solvent.
- Cycle fuel pump for 5–10 minutes to push cleaner through.
- Inspect spray pattern again—should be a fine cone.
3. Ultrasonic Cleaning
Ultrasonic waves create bubbles that clean inside and outside injectors, reaching tiny passages. Pros recommend this for heavily clogged or high-mileage injectors.
Maintaining Clean Injectors
Preventive Tips
- Use top-tier gasoline with built-in detergents.
- Add a fuel-system cleaner every 6,000 miles.
- Change fuel filter per your owner’s manual.
Service Intervals
- DIY cleaning with additives every 6,000–8,000 miles.
- Professional cleaning recommended every 15,000 miles for best results.
- Some shops offer full fuel-injection service at 45,000-mile intervals.
Hitting these marks keeps carbon and varnish from building up.
Final Thoughts
You’ve got the tools and know-how to spot injector issues early. A quick visual check and spray-pattern test can save you time and money. Add-on cleaners help for mild build-up. For tougher clogs, manual soak or ultrasonic baths restore spray quality. Stick to fuel-system maintenance every 15,000 miles, use good gas, and your engine will thank you with smooth power and better mileage. Now get out there, give those injectors some TLC, and enjoy a car that feels fresh every time you drive.